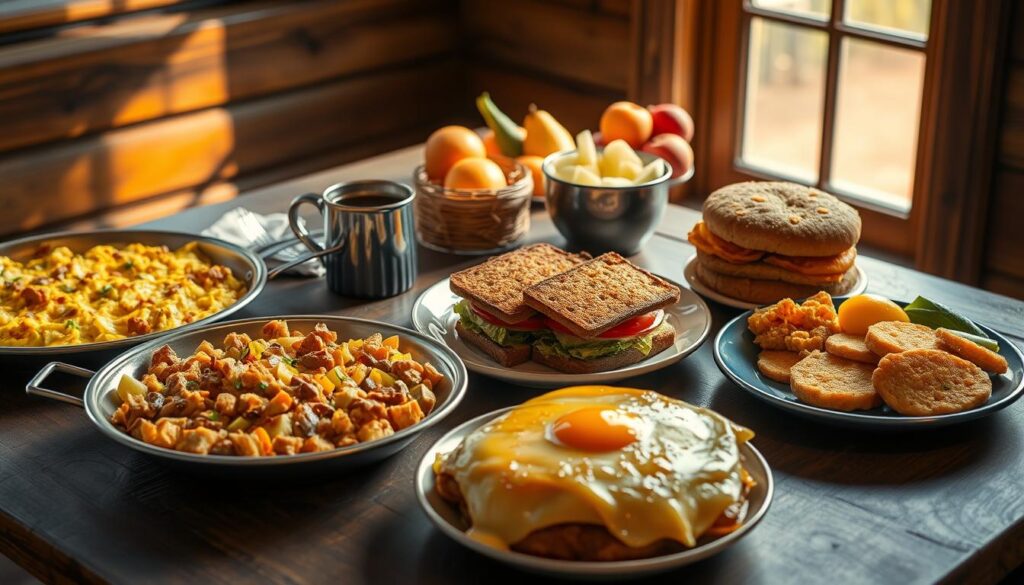
chicken breakfast recipes As the sun rises, the smell of chicken and eggs fills the air. It invites you to the table. Mornings can be busy, but these chicken breakfast recipes make them special. You can try a chicken breakfast burrito, chicken and waffles, or a simple chicken breakfast skillet.
Explore egg and chicken recipes for a healthy start. These dishes mix chicken’s versatility with eggs’ protein. You’ll find healthy chicken breakfast ideas and chicken brunch ideas that make breakfast exciting. Whether you want a quick chicken breakfast sandwich or a big chicken breakfast casserole, you’re set.
Get ready to be inspired by these chicken breakfast recipes. They’ll make you want to wake up early for a tasty meal. Enjoy the flavors and start your day right with these dishes.
Table of Contents
Key Takeaways
- Discover a variety of delicious chicken breakfast recipes to kickstart your day.
- Explore the versatility of egg and chicken recipes for a protein-packed morning meal.
- Find easy and healthy chicken breakfast options, from burritos to casseroles.
- Indulge in chicken brunch ideas that elevate the traditional breakfast experience.
- Enjoy the convenience of chicken breakfast sandwiches and other quick-and-easy options.
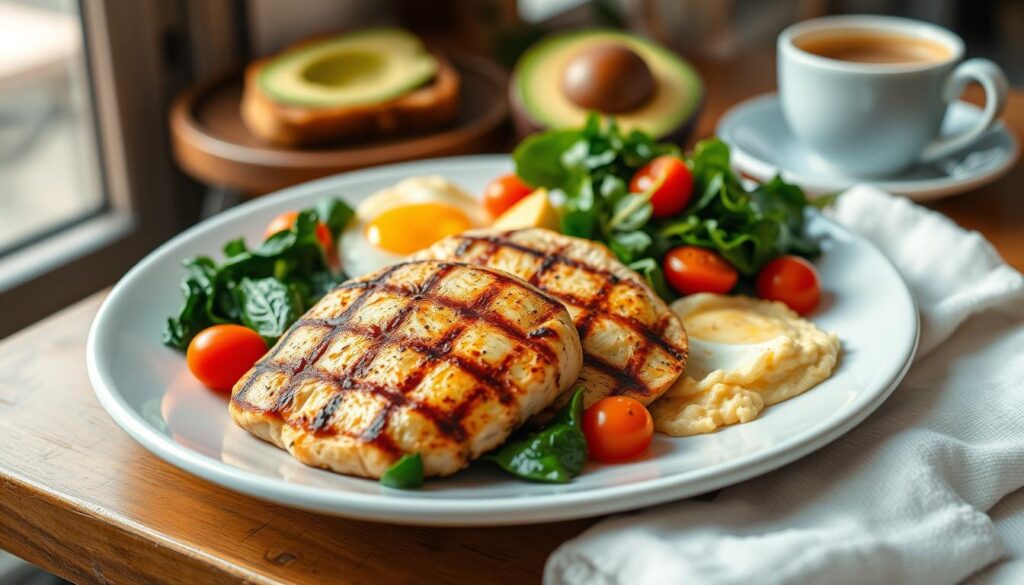
Amp Up Your Morning with Protein-Packed Chicken
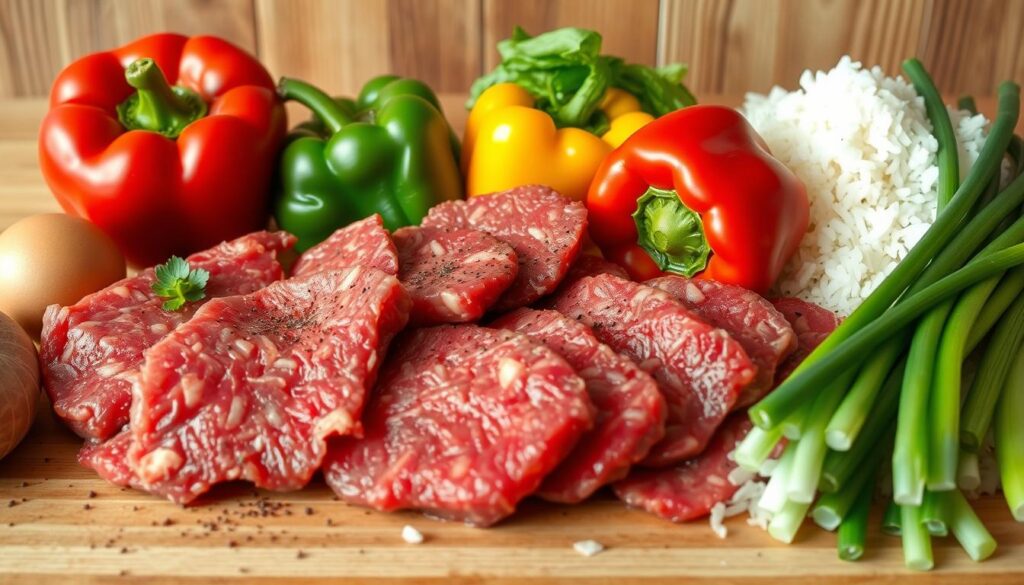
Chicken isn’t just for dinner anymore. It can be the star of your breakfast too! Adding protein-rich chicken to your morning meals is great for fueling your body. These tasty chicken breakfast recipes will make you love chicken in the morning.
Start your day with a Chicken Omelet. It’s packed with 27 grams of protein and only 275 calories. Just mix 3 eggs, diced chicken, and your favorite veggies for a filling breakfast. Plus, leftover omelets are perfect for up to 3 days in the fridge.
Try Chicken and Waffles for a savory twist on breakfast. It combines crispy fried chicken with fluffy waffles and a sweet bourbon sauce. This combo is unforgettable and will quickly become a favorite.
Jump to Recipe
Ready to mix up your breakfast? Check out these protein-packed chicken recipes. From omelets to waffles, there’s a dish for every craving.
| Protein-Packed Chicken Breakfast Recipes | Protein Content (grams) | Calories |
|---|---|---|
| Chicken Omelet | 27 | 275 |
| Chicken and Waffles | 30 | 450 |
| Chicken Breakfast Bowl | 25 | 350 |
| Chicken Breakfast Casserole | 22 | 320 |
Begin your day with protein-packed chicken. These delicious breakfast recipes will fuel your morning.
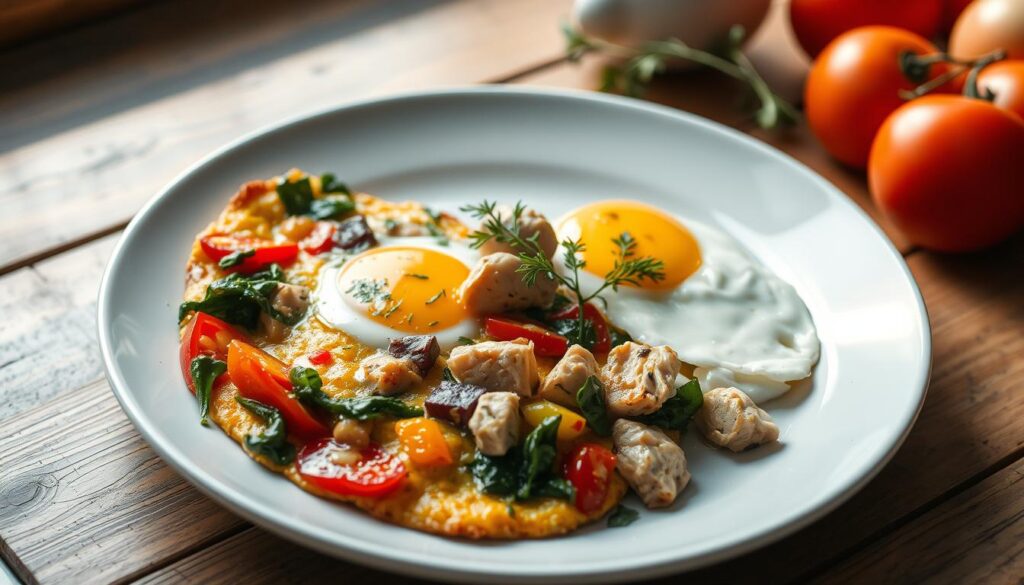
Chicken and Egg Frittata: A Meal Prep Favorite
Start your day with a nutritious chicken and egg frittata. It’s a protein-rich breakfast that’s also great for meal prep. With fresh veggies, seasoned chicken, and creamy eggs, it’s a healthy choice for your morning.
The recipe uses 12 large eggs, making it a protein-packed dish. It also includes fresh herbs, onion, and spinach for extra nutrition. You can customize it with your favorite veggies, meats, and cheeses.
This chicken and egg breakfast is perfect for busy mornings. You can make it ahead of time. It stays fresh in the fridge for up to 4 days or in the freezer for 2 months.
The chicken and egg frittata is also very nutritious. Each serving has 204 calories. It’s a good mix of carbs, protein, and fat, making it a satisfying start to your day.
If you’re looking for a healthy chicken breakfast recipe or a convenient meal prep breakfast, try this chicken and egg frittata. It’s delicious, versatile, and easy to prepare ahead of time. It’s a great way to start your day feeling energized and full.
“This chicken and egg frittata is a game-changer for my meal prep routine. It’s so easy to make, packed with nutrients, and keeps me full all morning long.”
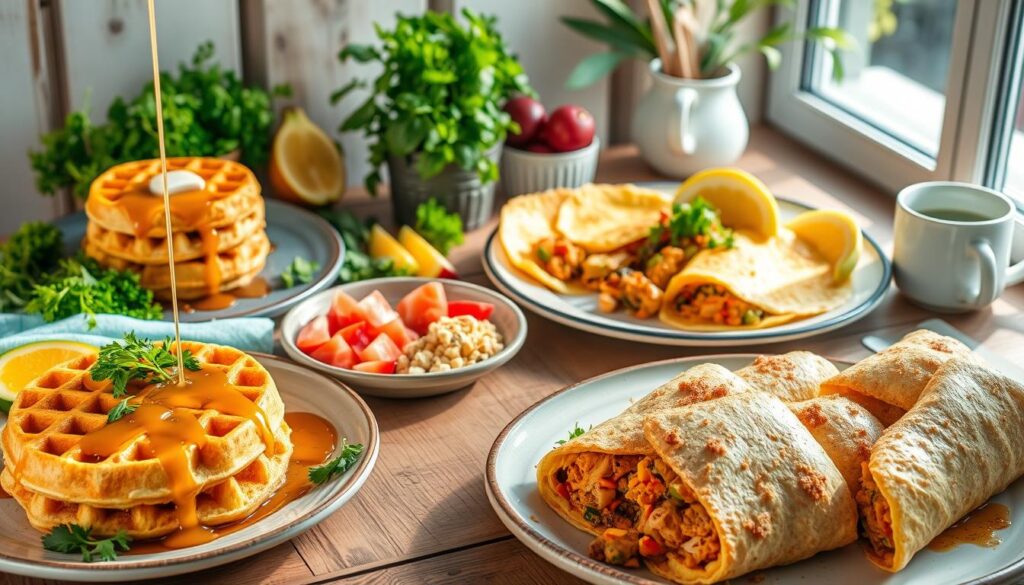
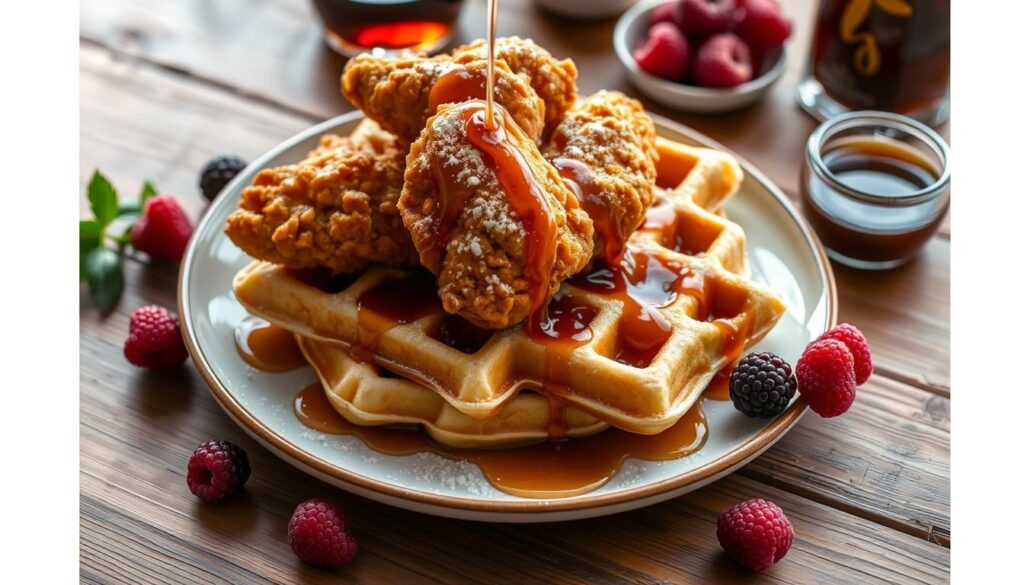
Chicken Waffles: A Sweet and Savory Indulgence
Start your day with a tasty chicken and waffles recipe. It mixes sweet and savory flavors perfectly. This dish combines crunchy waffles with juicy chicken for a delicious breakfast.
A Breakfast Delight
Picture crispy waffles and tender chicken strips together, all covered in honey glaze. This recipe is a feast for your taste buds. It’s a mix of textures and flavors that will make you want more.
The secret to this dish is finding the right balance. Buttermilk waffles are light yet strong. Oven-fried chicken adds a nice crunch and flavor. The honey glaze makes it sweet and savory, starting your day off right.
Enjoy this chicken and waffles dish at brunch or any day. It will excite your taste buds and keep you full. It’s a breakfast that’s truly amazing.
“The best crunchy, sweet waffle texture paired with the protein hit from chicken – it’s a combination you’ll fall in love with.”
Air Fryer Chicken Breakfast Bowl: A Copycat Chick-fil-A Delight
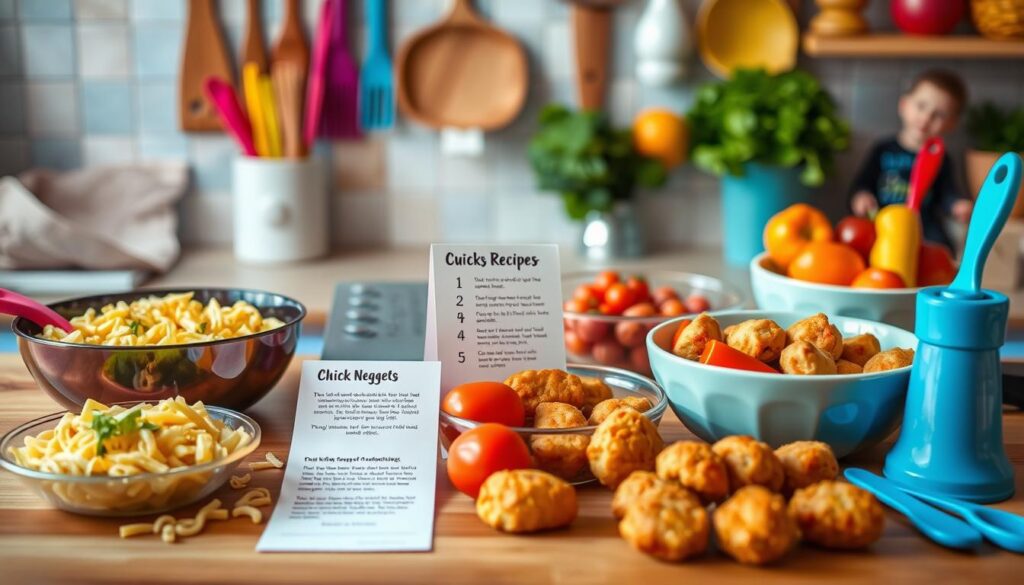
Want the taste of Chick-fil-A breakfast at home? This air fryer chicken breakfast bowl is a great choice. It’s easy to make and tastes amazing.
This dish features crispy chicken nuggets, fluffy tater tots, and scrambled eggs. Together, they make a protein-packed breakfast bowl. It’s perfect for starting your day off right.
This recipe is very close to the Chick-fil-A breakfast bowl. The air fryer makes the chicken nuggets crispy without extra oil. Your family will love this air fryer chicken breakfast every morning.
| Ingredient | Quantity |
|---|---|
| Chicken Nuggets | 1 lb |
| Tater Tots | 2 cups |
| Eggs, Scrambled | 4 large |
| Cheddar Cheese, Shredded | 1 cup |
To make this copycat chick-fil-a breakfast bowl, air fry the chicken and tater tots. Scramble the eggs and layer everything in a bowl. Add shredded cheddar cheese for a cheesy finish. This protein-packed breakfast bowl is a tasty way to start your day.
Try this easy chicken breakfast bowl recipe for a delicious and healthy meal. It’s a great way to enjoy a Chick-fil-A breakfast without leaving home.
Chicken Breakfast Recipes: The Perfect Morning Protein Boost
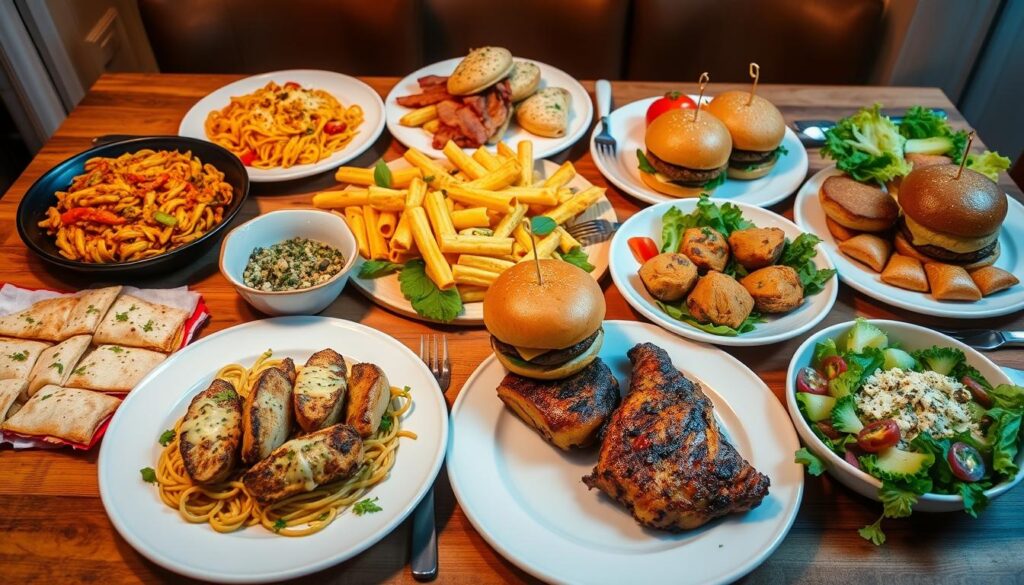
Start your day with a protein-packed punch by indulging in delectable chicken breakfast recipes. These dishes not only provide a nutritious boost but also tantalize your taste buds. From savory frittatas to sweet and crunchy chicken waffles, these ideas are the perfect way to fuel your body and energize your morning.
One standout recipe is the Balinese-Inspired Chicken, Egg and Rice, which packs a impressive 28 grams of protein per serving. For a quick and easy option, try the Organic Chicken Breakfast Patties, each delivering 24 grams of protein. And if you’re in the mood for a heartier meal, the Sweet Potato and Sausage Breakfast Casserole offers a satisfying 35 grams of protein.
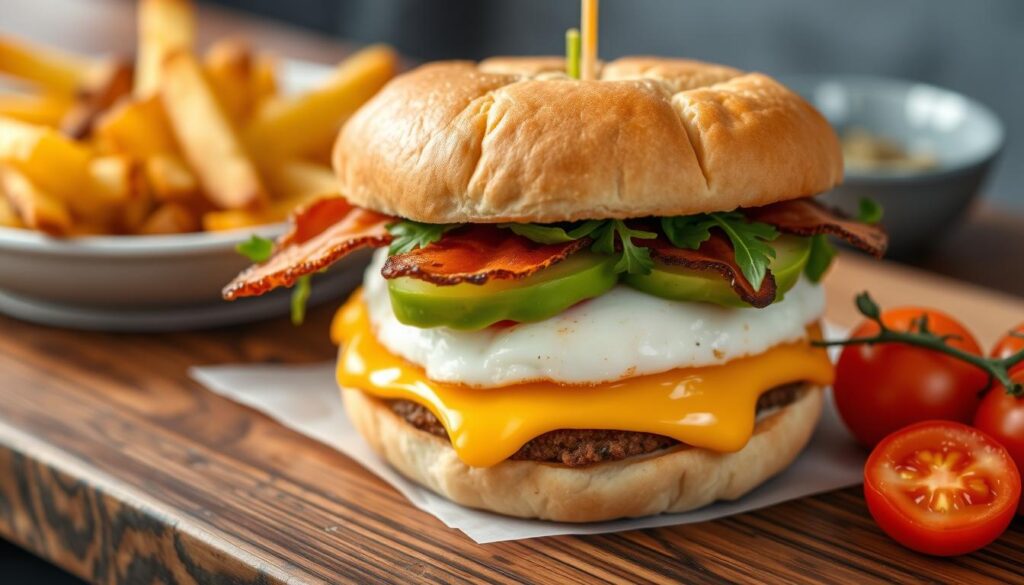
Looking for something with a bit more of a kick? The California Chicken Breakfast Burrito is a protein-rich delight, boasting an impressive 54 grams of protein. Or, for a delightful sweet and savory combo, the Easy Chicken and Protein Waffles provide 36 grams of protein per serving.
No matter your preference, these chicken breakfast recipes are sure to leave you feeling satisfied and energized, thanks to their impressive protein content. So why wait? Start your day right with these healthy and delicious options.
| Recipe | Protein Content (grams) |
|---|---|
| Balinese-Inspired Chicken, Egg and Rice | 28 |
| Organic Chicken Breakfast Patties | 24 |
| Sweet Potato and Sausage Breakfast Casserole | 35 |
| California Chicken Breakfast Burrito | 54 |
| Easy Chicken and Protein Waffles | 36 |
| Buffalo Chicken Egg Bakes | 20 |
| Chicken Fajita Breakfast Skillet | 51 |
| Chicken Cream Cheese Croissants | 18 per croissant |
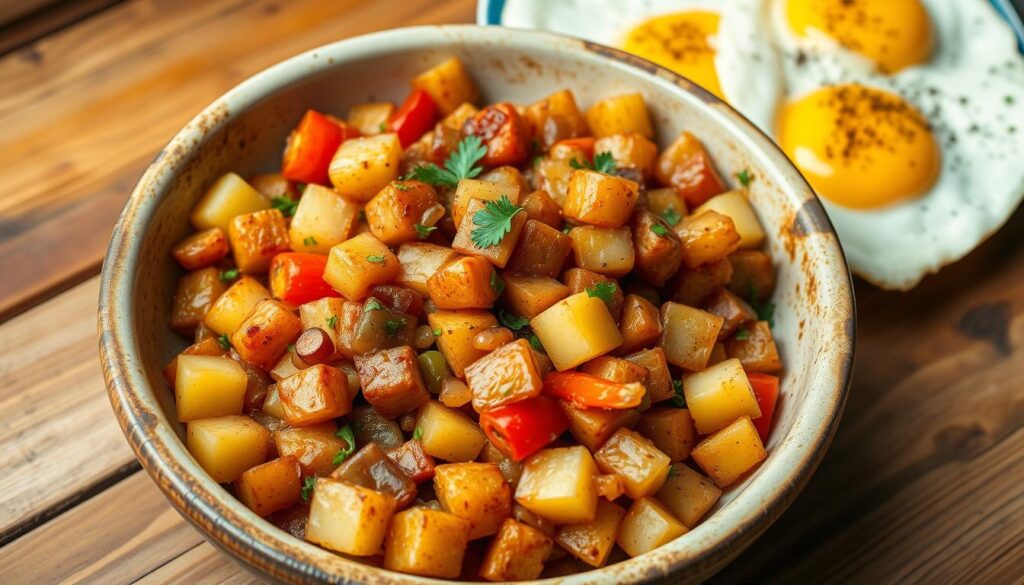
| Chicken and Egg Hash | 15 |
| Chicken Muffins | 16 per 2 muffins |
| Buffalo Chicken Potato Hash | 21 |
| Skillet Chicken and Sweet Potatoes | 21 |
| Chipotle Chicken Flatbread | 62 per pizza |
Dive into these protein-rich chicken breakfast recipes and start your day with a nutritious and delicious morning boost!
“Breakfast is the most important meal of the day, and these chicken-based recipes ensure you get the protein you need to power through your morning.”
Crescent Roll Chicken Breakfast Casserole: Savory Indulgence
Get ready for a breakfast sensation that will keep you coming back for more! This chicken breakfast casserole with flaky crescent rolls is a true delight. It’s filled with juicy popcorn chicken, melted cheeses, and a touch of honey. It’s the perfect way to kick off your day with a burst of protein.
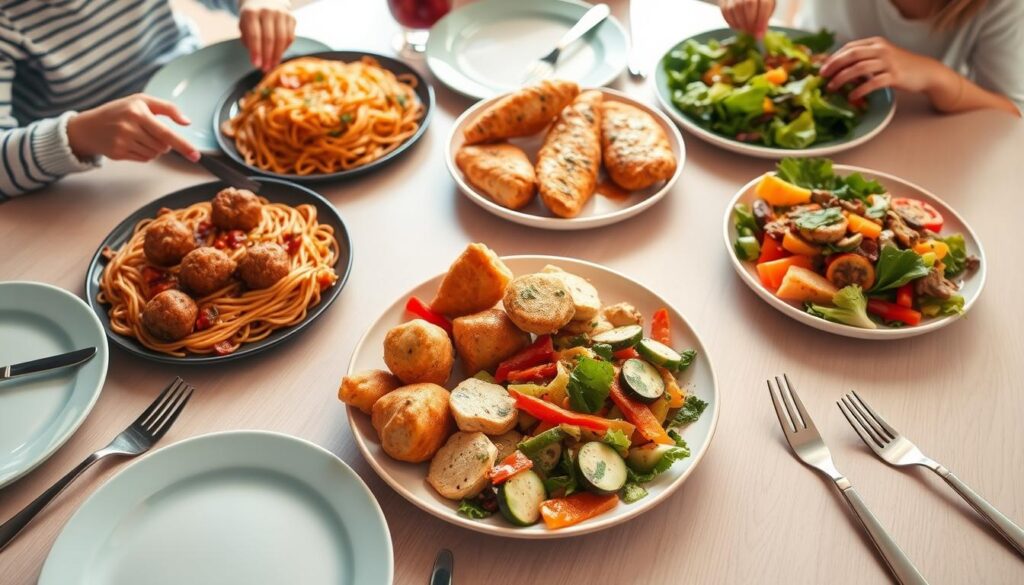
This savory chicken breakfast is quick to make, perfect for busy mornings or weekend brunches. Just roll the crescent dough around the chicken and cheese, then bake until golden. Serve it with a fresh fruit salad for a complete and satisfying crescent roll breakfast that everyone will love.
This indulgent chicken breakfast casserole will make you jump out of bed. It’s the star of your next brunch, and your taste buds will thank you!
Ingredients:
- 1 lb. popcorn chicken
- 2 cans refrigerated crescent rolls
- 1 cup shredded cheddar cheese
- 1/2 cup shredded mozzarella cheese
- 2 tablespoons honey
Instructions:
- Preheat your oven to 375°F (190°C).
- Unroll the crescent roll dough and separate it into 16 triangles.
- Place a piece of popcorn chicken onto the wide end of each triangle.
- Top the chicken with a sprinkle of cheddar and mozzarella cheeses.
- Roll up the dough around the chicken and cheese, starting from the wide end and rolling towards the narrow end.
- Arrange the rolled-up crescent rolls in a 9×13-inch baking dish.
- Drizzle the honey over the top of the casserole.
- Bake for 35-40 minutes, or until the crescent rolls are golden brown and the chicken is cooked through.
- Let the casserole cool for 5-10 minutes before serving.
Enjoy this chicken breakfast casserole as the main attraction at your next brunch. Or serve it with a fresh fruit salad for a complete and satisfying meal. The flaky crescent rolls, juicy chicken, and melted cheeses will make it a family favorite.
Chicken Hashbrown Breakfast Bowl: A Warming Start
Start your day with the Chicken Hashbrown Breakfast Bowl. It’s a mix of protein that keeps you full and happy. It has savory eggs, crispy chicken, and fluffy hashbrowns for a warm meal.
This recipe feeds 2 people. It uses 22 hash brown crowns, 10 chicken nuggets, and 2 eggs. It has 470 calories, 31 grams of protein, and 28 grams of fat. Chicken makes it a great way to start your day.
Making this breakfast bowl is easy. It’s perfect for busy mornings when you need a quick, tasty meal. Just put the ingredients together and enjoy a warm breakfast.
Try adding fresh veggies or salsa for a twist. The chicken breakfast bowl is easy to customize. It’s sure to be a favorite in your home.
“This Chicken Hashbrown Breakfast Bowl is a game-changer for my morning routine. The combination of savory flavors and the satisfying texture keeps me energized and satisfied all morning long.”
Enjoy the Chicken Hashbrown Breakfast Bowl for a great start to your day. Its savory breakfast bowl and warming chicken breakfast flavors will make it a favorite.
Chicken and Bourbon French Toast: An Unforgettable Indulgence
Imagine a breakfast that combines fried chicken with French toast. Welcome to chicken and bourbon French toast. It’s a culinary experience you’ll love.
This dish is a mix of savory chicken and rich French toast. It’s a protein-packed, indulgent chicken breakfast that will become your favorite. The secret is the crispy chicken and the bourbon-infused French toast batter.
Amp Up Your Protein-Packed Breakfast
This chicken french toast recipe is not just tasty. It also gives you a lot of protein to start your day. The chicken and eggs in the batter keep you energized and ready for anything.
The bourbon chicken breakfast gets even better with a sweet chili sauce. This sauce adds a complex flavor. It balances the chicken’s savory taste with sweetness and a bit of heat.
Enjoy this indulgent chicken breakfast for a weekend brunch or a quick protein-packed breakfast sandwich. Every bite will make you want more.
Treat yourself to this unforgettable dish. Start your day with chicken and bourbon French toast. It’s a breakfast you won’t forget. chicken breakfast recipes
Leftover Chicken Quiche: Effortless Morning Baking
Make your breakfast special with a homemade chicken quiche. Use leftover chicken and veggies from your fridge. It’s made easy with a store-bought pie crust.
It’s filled with thyme and Swiss cheese. Each bite is rich and satisfying. chicken breakfast recipes
You can add your favorite veggies like broccoli or bell peppers. Just make sure the eggs and cream mix is right for a creamy texture.
It’s ready in 10 minutes and bakes in 30-40 minutes at 375°F. You can even freeze it for later. It’s a great way to get a protein-packed breakfast anytime. chicken breakfast recipes
FAQ
What are some delicious chicken breakfast recipes to try?
This collection has everything from savory casseroles to hearty burritos. You’ll find easy recipes and warm scrambles to start your day. Each dish is packed with flavor and protein. chicken breakfast recipes
Why is adding chicken to breakfast a great idea?
Chicken boosts your morning with extra protein. It keeps you full and energized. It’s a healthy, tasty way to begin your day. chicken breakfast recipes
Can you tell me more about the chicken and egg frittata?
The chicken and egg frittata is a great meal prep option. It’s a mix of fresh veggies, seasoned chicken, and creamy eggs. It’s also just 4 Weight Watchers points per serving! chicken breakfast recipes
What’s the deal with the chicken and waffles recipe?
This recipe adds a new twist to breakfast. It combines egg waffles, crispy chicken, and honey, then bakes until golden. It’s a sweet, crunchy, and protein-rich meal. chicken breakfast recipes
Can you tell me more about the air fryer chicken breakfast bowl?
This bowl is a copycat of a Chick-fil-A favorite. It’s made with chicken nuggets, tater tots, cheese, and eggs. It’s quick to make in your air fryer and a hit with kids and adults alike. chicken breakfast recipes
What are some other must-try chicken breakfast recipes?
Try a savory chicken casserole or a crescent roll chicken bake. There’s also a chicken hashbrown bowl and a chicken and bourbon French toast sandwich. Each dish is a unique way to add protein to your breakfast. chicken breakfast recipes
Can you tell me more about the leftover chicken quiche?
This quiche is perfect for using up leftover chicken. It’s made with a store-bought pie crust, fresh veggies, seasoned chicken, and Swiss cheese. It’s a rich, flavorful option for breakfast or brunch. chicken breakfast recipes
Source Links
- 25 Chicken Breakfast Recipes Your Family Will Rave About – Drizzle Me Skinny! – https://drizzlemeskinny.com/25-chicken-breakfast-recipes-your-family-will-rave-about/
- California Chicken Breakfast Burrito [Video] – https://sweetandsavorymeals.com/california-chicken-breakfast-burrito/
- Protein-Packed Perfection: Whole Chicken Omelet For Maximum Fuel – https://fitasamamabear.com/chicken-omelet/
- 25 easy high-protein breakfasts that will keep you full longer – https://www.today.com/health/diet-fitness/high-protein-breakfast-ideas-rcna121190
- Chicken Frittata Recipe with Spinach – https://www.farmhouseonboone.com/chicken-frittata-recipe-with-spinach/
- 30 Minute Chicken Frittata with Spinach and Feta – An Oregon Cottage – https://anoregoncottage.com/chicken-spinach-frittata/
- Chicken and Waffles – https://www.africanbites.com/chicken-waffles/
- Southern-Style Chicken and Waffles – https://www.garlicandzest.com/southern-style-chicken-and-waffles/
- Oven-Fried Chicken and Waffles with Maple Gravy – https://thebakermama.com/recipes/oven-fried-chicken-waffles-with-maple-gravy/
- Air Fryer Chick-Fil-A Breakfast Bowl – https://forktospoon.com/air-fryer-chick-fil-a-breakfast-bowl/
- Air Fryer Chicken Tenders (Chick-fil-A Copy Cat) – My Life After Dairy – https://mylifeafterdairy.com/air-fryer-chicken-tenders-chick-fil-a-copy-cat/
- How to Make Chick-Fil-A Grilled Nuggets in an Air Fryer – https://masonfit.com/copycat-air-fryer-chick-fil-a-grilled-nuggets/
- 14 Chicken Breakfast Recipes Packed With Protein | Livestrong.com – https://www.livestrong.com/article/13729104-high-protein-breakfast-chicken-recipes/
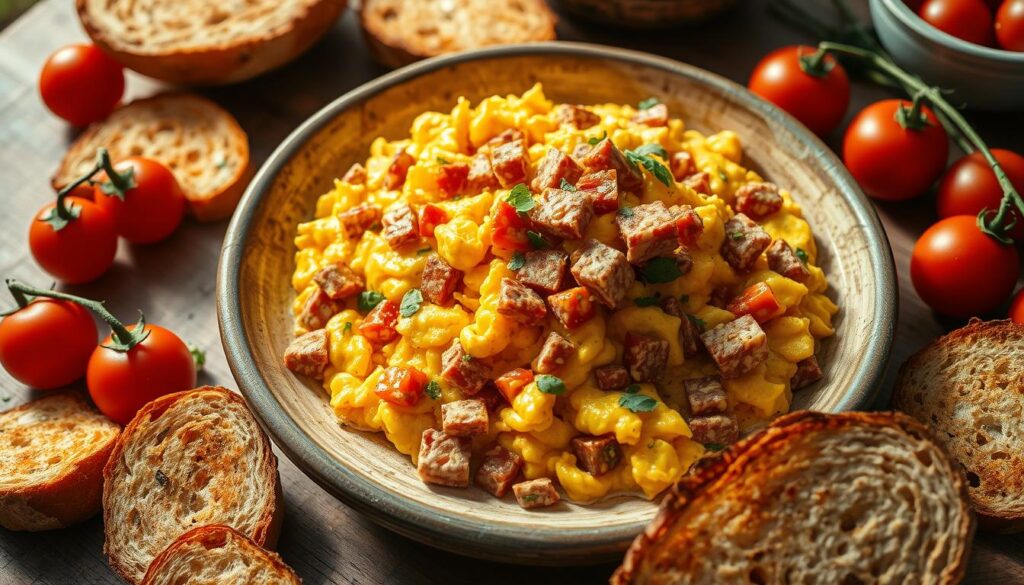
- Easy Chicken and Eggs Breakfast Scramble Recipe – https://kimabbagehart.com/easy-chicken-and-eggs-breakfast-scramble-recipe/
- Holiday Crescent Roll Breakfast Casserole – https://laurenfitfoodie.com/holiday-crescent-roll-breakfast-casserole/
- Sausage & Cream Cheese Crescent Breakfast Casserole – Plain Chicken – https://www.plainchicken.com/sausage-cream-cheese-crescent-breakfast/
- Chicken Scramble Bowls – https://life-in-the-lofthouse.com/chicken-scramble-bowls/
- Chicken Breakfast Casserole Recipe – Powered By Mom – https://powered-by-mom.com/chicken-breakfast-casserole/
- 100 All-Time Best Comfort Food Classics – https://www.southernliving.com/food/classic-comfort-food-recipes
- 52 Breakfast Recipes – http://erecipecards.blogspot.com/p/52-breakfast-ideas.html
- Recipes – https://chschefservice.com/blog
- Crack Chicken Quiche – Plain Chicken – https://www.plainchicken.com/crack-chicken-quiche/
- Easy Breakfast Quiche – https://momsdish.com/recipe/342/breakfast-quiche